Content management systems (CMS), like WordPress, simplify the creation and maintenance of websites
of all types and sizes. In order to provide a bunch of features, every CMS requires many moving
parts that often come from third-party sources. In case of WordPress, we're talking about the themes
and plugins (including block libraries). You never know if those third-party pieces contain some
malicious code or user data exploits. That's why you should regularly update all of the software
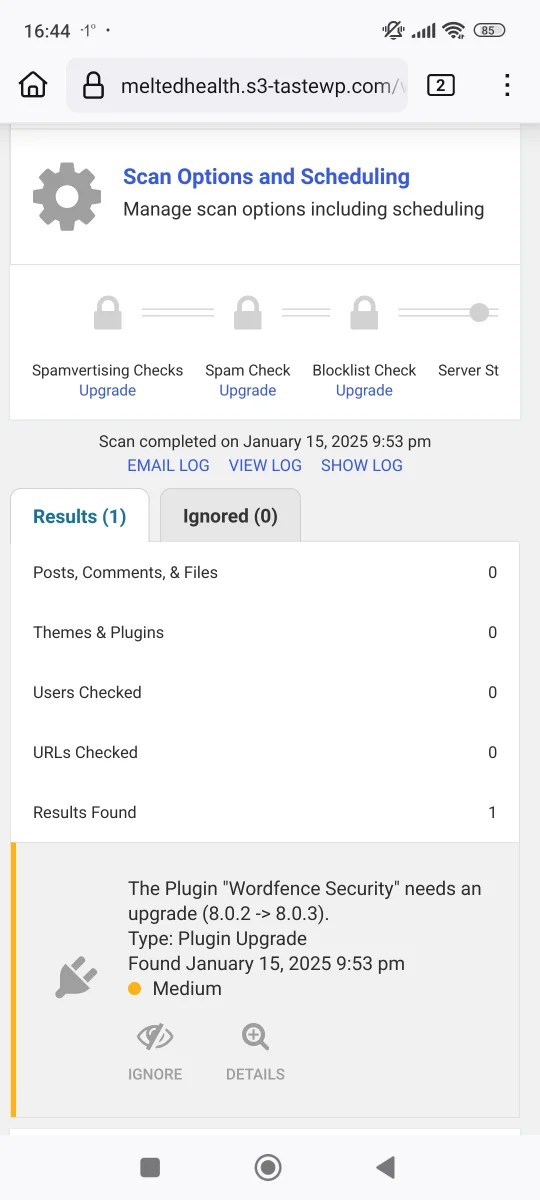
behind your website. Also, you should periodically scan your website's files for vulnerabilities.
On top of that, every CMS provides an option for users to log in and access a website's dashboard -
from admins to many other types of regular users (in case of a membership or e-commerce website).
This functionality comes with it's own potential security risks, related to unwanted access to your
website's files or database.
In case of WordPress, you can get most of the needed security features by installing a single plugin
- 'Wordfence'. Best of all, this plugin offers those security features for free. First step is to
install the plugin in your admin dashboard.
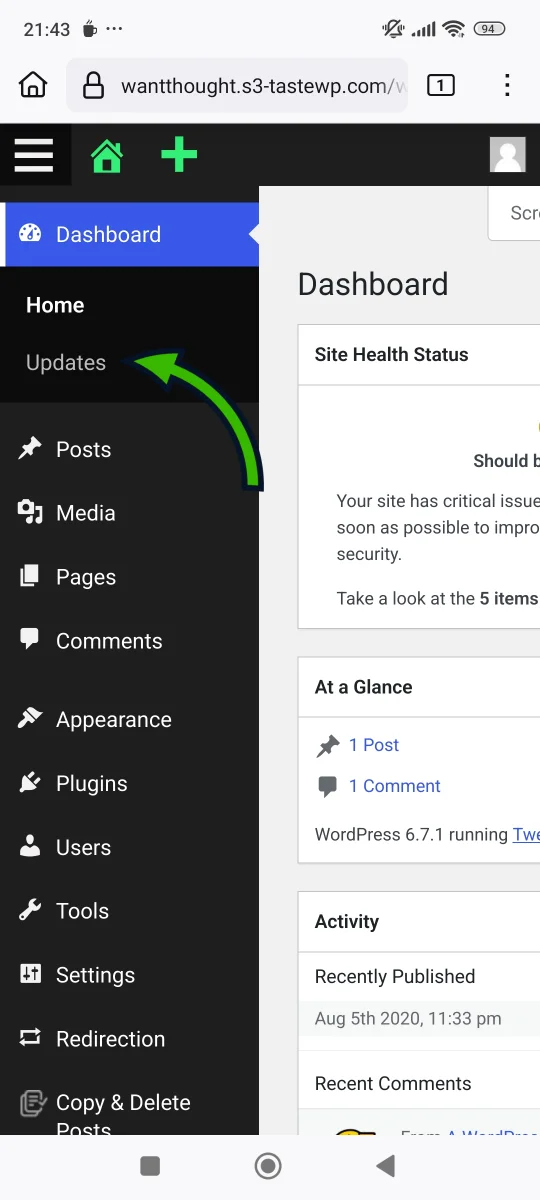
Head over to the main menu, and find the 'Plugins' menu item. Tap on it to reveal the sub-menu items.
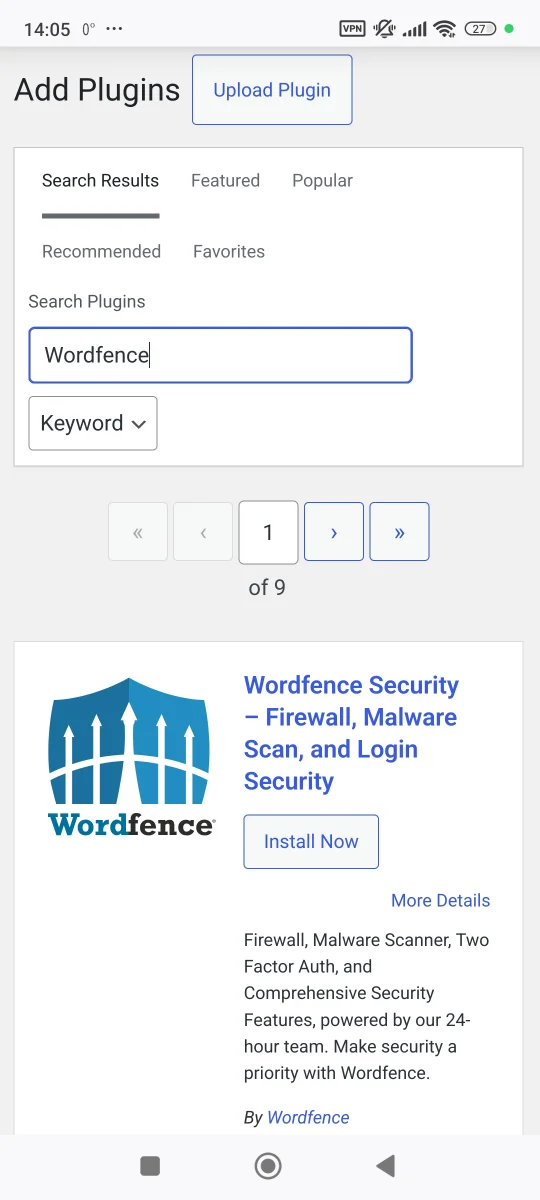
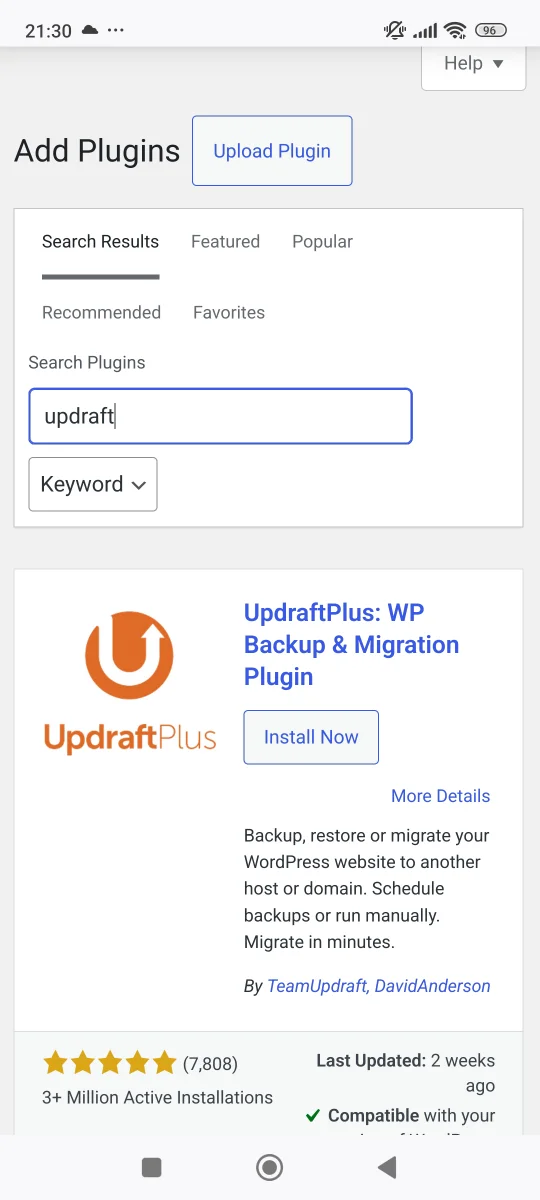
Now tap on the 'Add New Plugin' to go to the 'Add Plugins' page.
There you should type in the search input field the name of this plugin. Once it shows in your search
results, tap the 'Install Now' button to install it. It will take few seconds for the installation
to finish. You'll know it's finished, because the 'Install Now' button will be changed into
'Activate' button. Tap on it to active the plugin. [Check the image below]
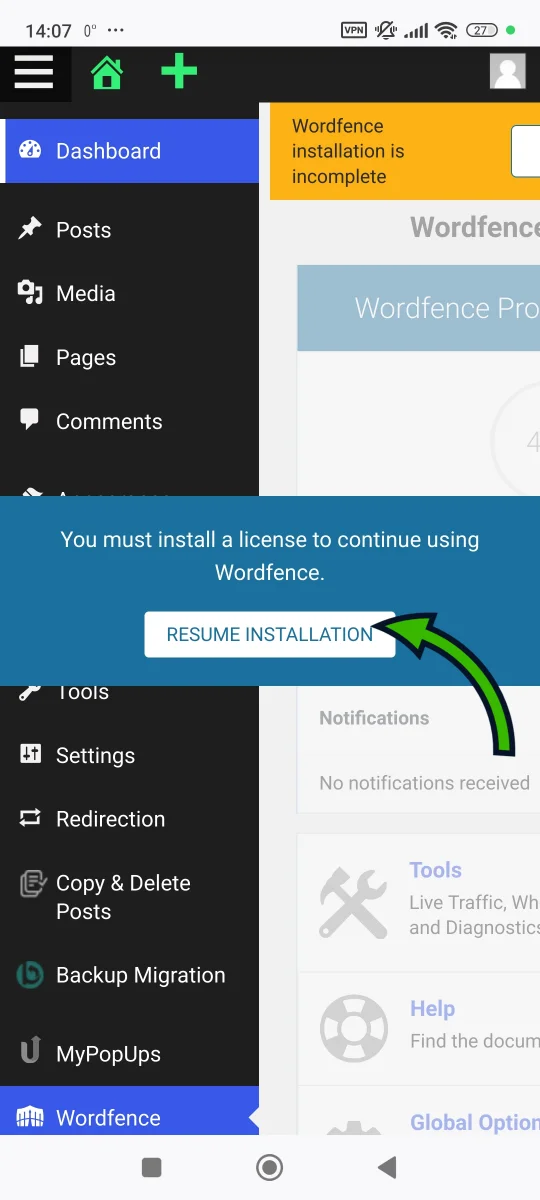
After the plugin is installed and activated, you will need to activate the license (free). In your
admin dashboard, you'll see the notification about the incomplete installation of the 'Wordfence'
plugin. Tap on the 'RESUME INSTALLATION' button, that will lead you to their website. [Check the
image below]
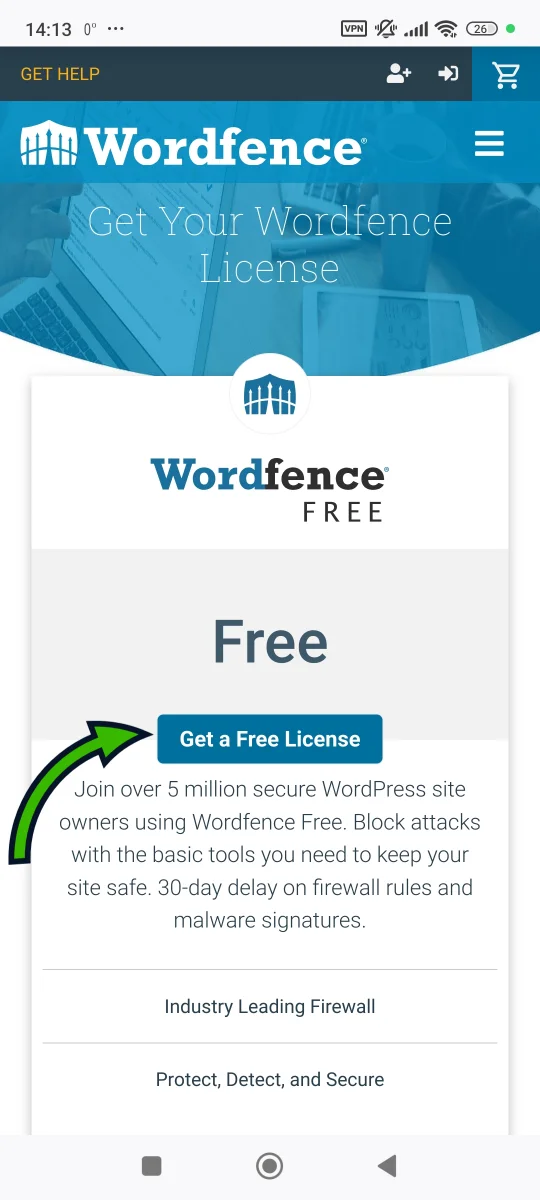
On their website, tap on the 'Get a Free License', to register for a free license. This will open a
pop-up window, explaining the difference between a free and a paid license. [Check the image below]
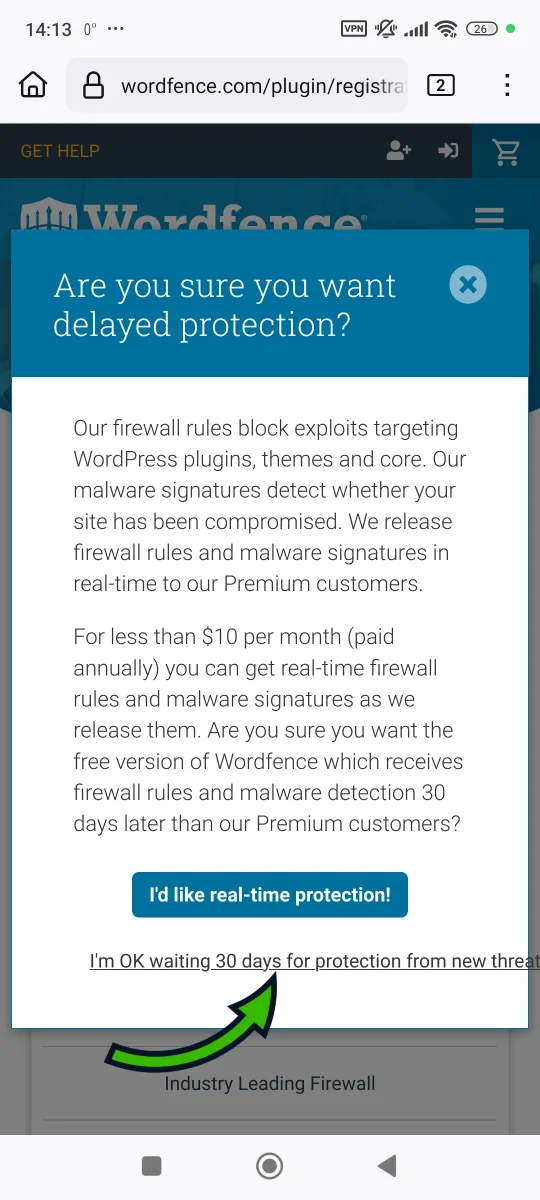
The free license comes with a 30 days delay for updates to the firewall rules and malware signatures
(that detect the newly discovered common threats). Tap on the 'I'm OK waiting 30 days for protection
from new threats'. [Check the image below]
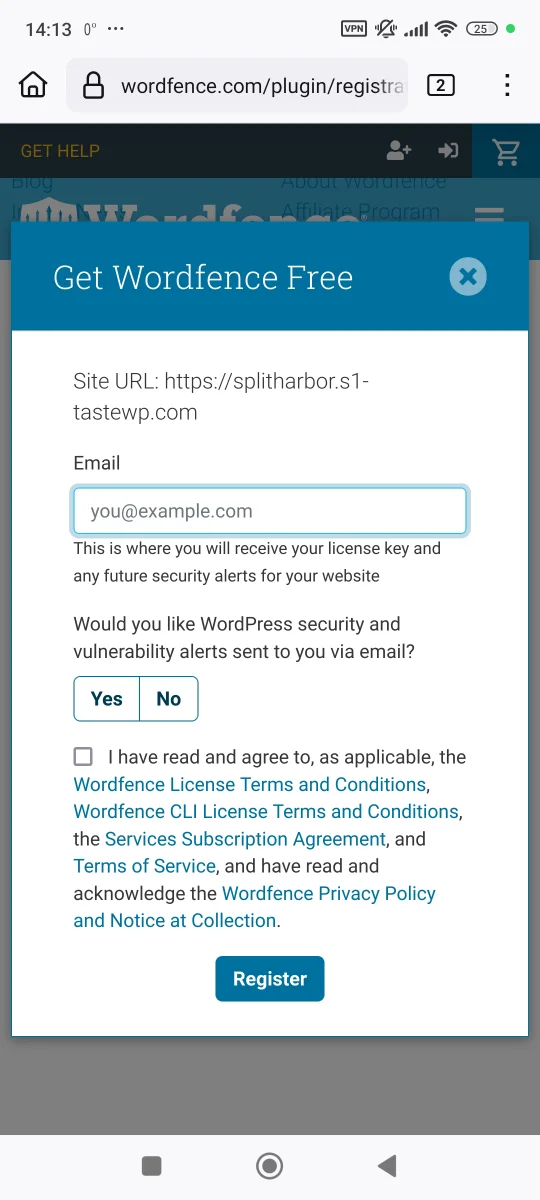
Now you'll need to fill out a short form - mainly to register an email address where you'll get the
license confirmation link. [Check the image below]
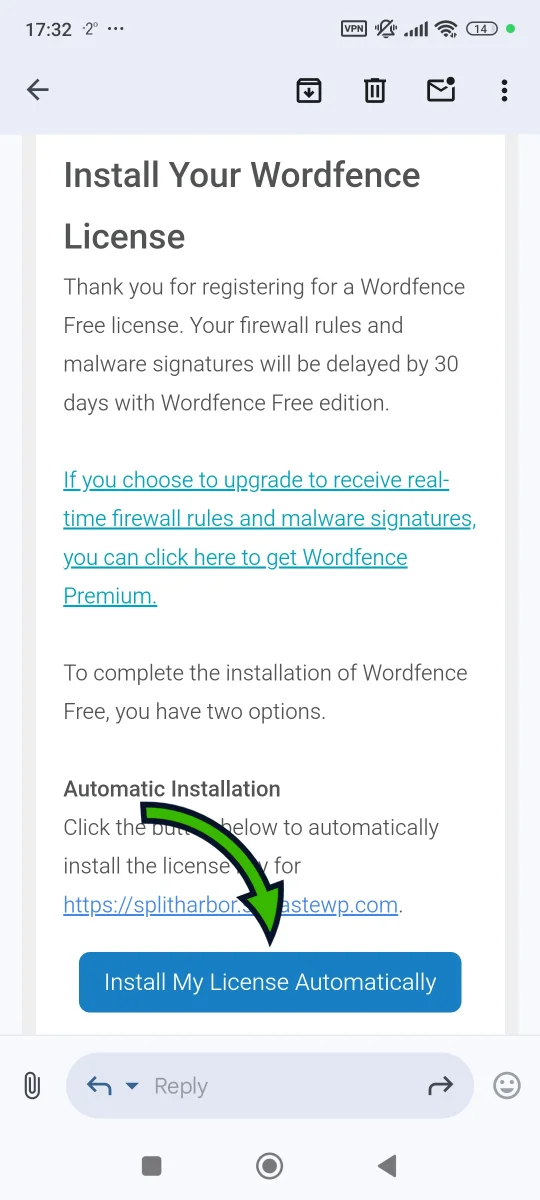
Once you tap the 'Register' button, an email will be sent to your email address - titled 'Your
Wordfence License'. You'll need to open the email message and tap on the 'Install My License
Automatically' button. [Check the image below]
This will lead you to your wp-admin dashboard, on a page where you'll see your email address and the
license key already pasted in the input fields. Tap on the 'INSTALL LICENSE' button to finish the
license setup process.
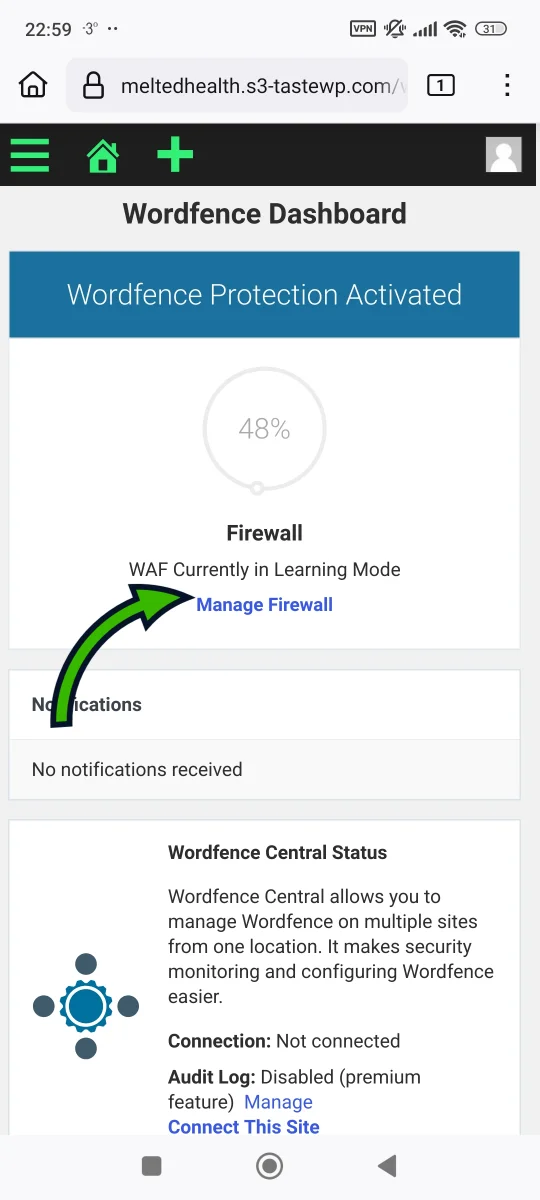
'Wordfence' is a rare security plugin that offers firewall feature for free. One thing to note here -
the plugin's firewall will be set to learning mode for the first week. This helps the plugin to set
it's rules according to your specific case, based on your website features and activity. After the
week has passed, firewall will be turned on automatically.